Requests
Know about Requests page and actions you can perform.
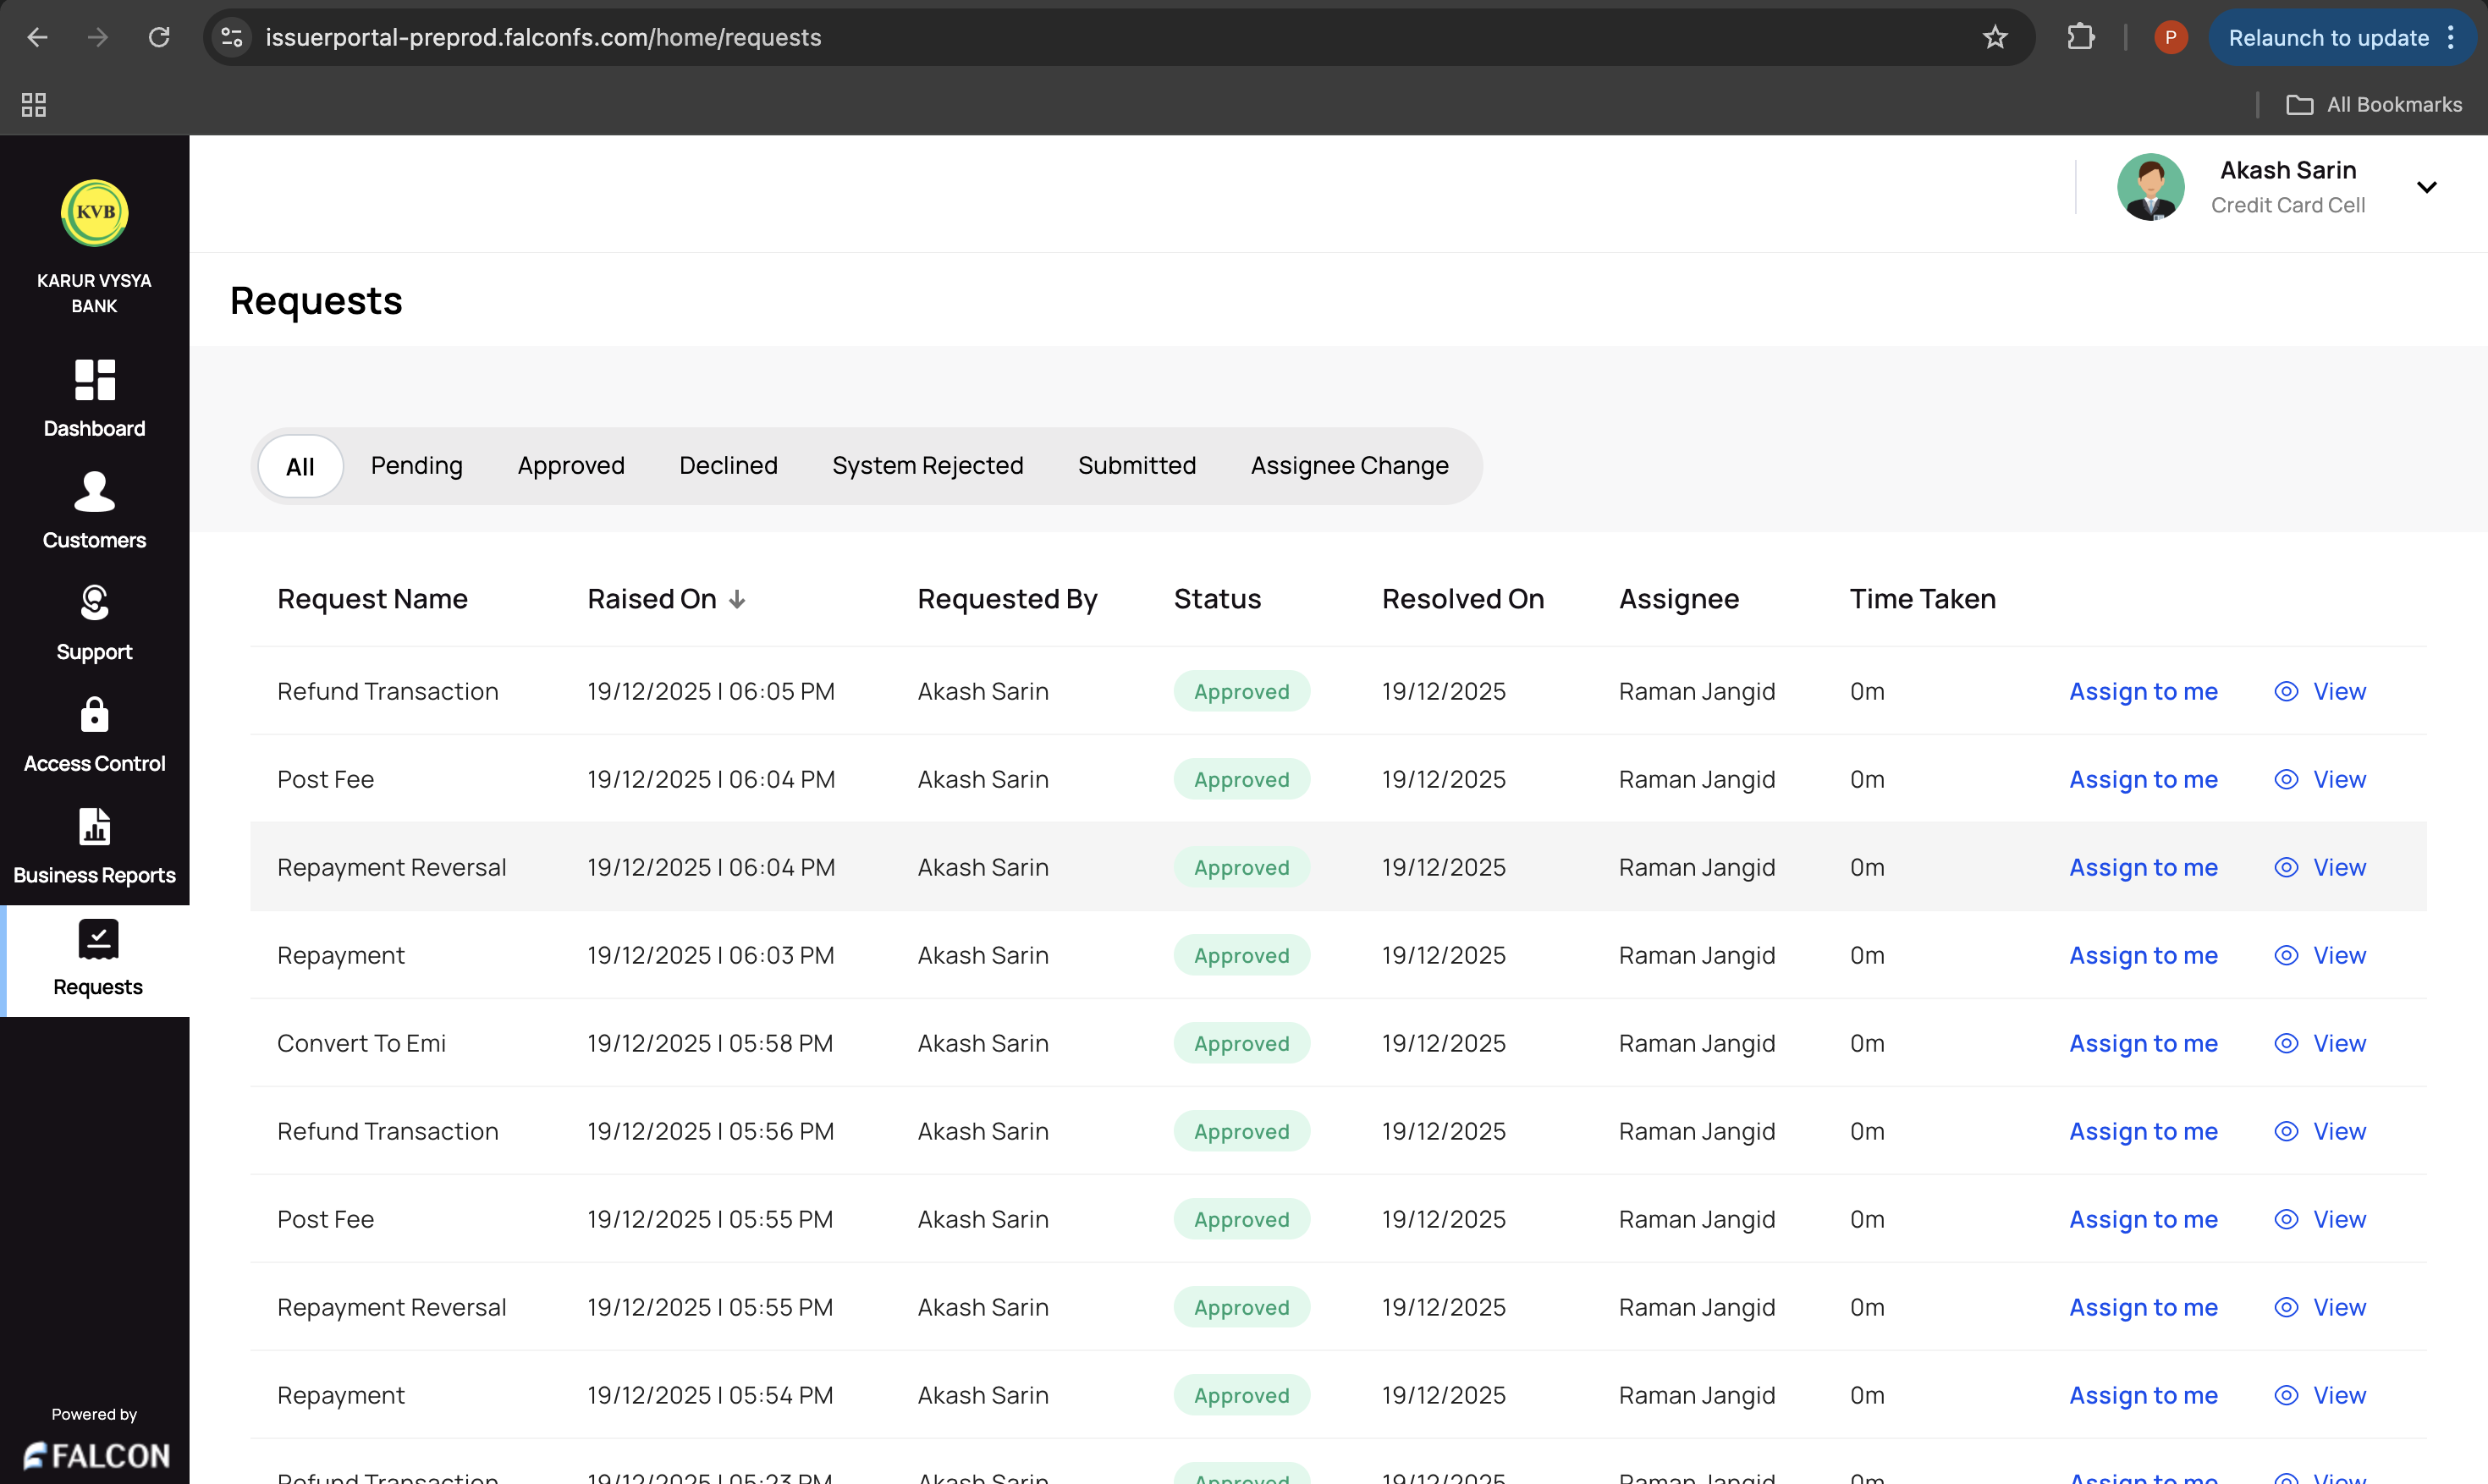
This page displays a list of requests raised by admin and support makers. This page is divided into the following tabs.
- All: Displays all requests.
- Pending: Displays pending requests
- Approved: Displays approved requests
- Declined: Displays declined requests
- System Rejected: Displays system-rejected requests
- Submitted: Displays a list of submitted requests
- Asignee Change: Displays a list of requests whose assignees have been changed
All requests are assigned to a checker (admin and support) automatically. An admin checker can claim a request using the Assign to me option.
All users can view requests on this page. Only admins and support checkers can perform the following actions:
- Assign to me (only for admin checkers)
- Approve a request
- Reject a request
📌 Assign to Me
Suppose a request is assigned to a checker user, and they are unavailable. In that case, an admin checker can assign the request to themselves and approve/reject the request raised by makers.
To assign a request to yourself:
- Log in to the issuer dashboard using the role-based credentials.
- Click Requests from the left navigation bar.
- Click Assign to me against a request as shown below.
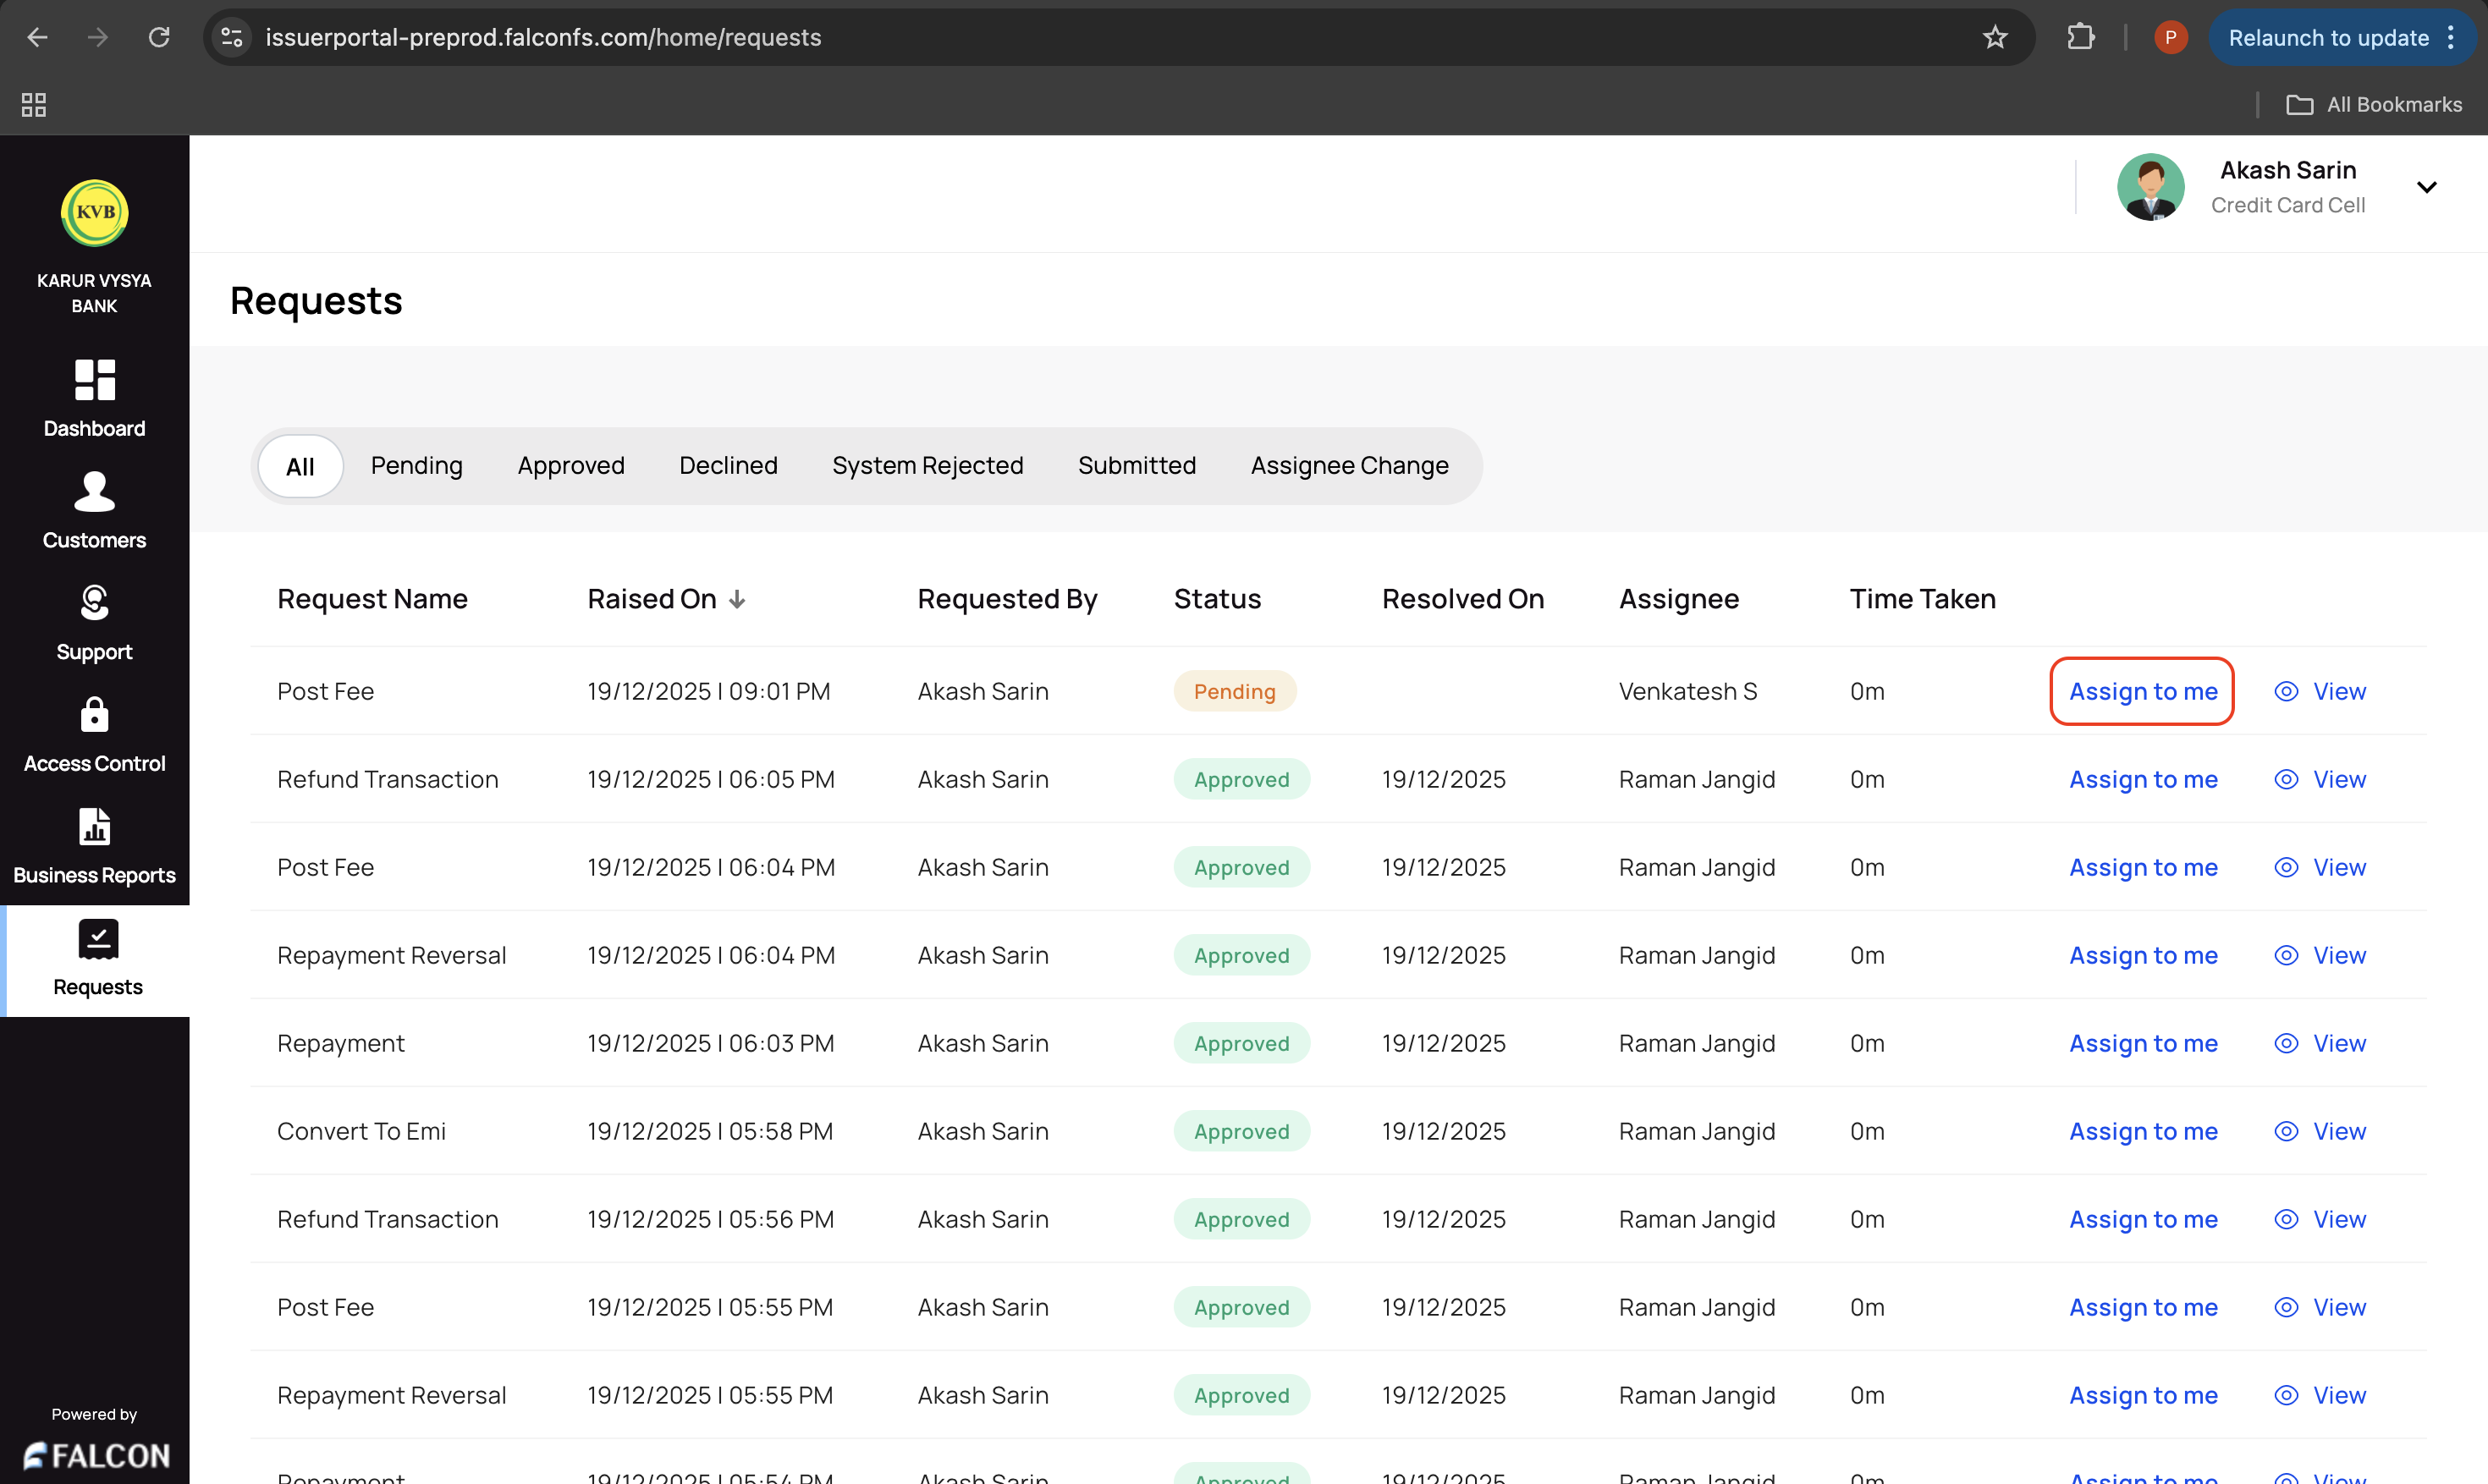
- Click Confirm in the Assign to yourself? pop-up page to claim the request.
✔️ Approve or Reject a Request
Users with admin and support checker roles can perform this action.
To approve or reject a request.
- Log in to the issuer dashboard using the role-based credentials.
- Click Requests from the left navigation bar.
- Click View against a request assigned to you.
- Click either Approve or Reject in the pop-up page that appears after reviewing the details to approve or reject the request.